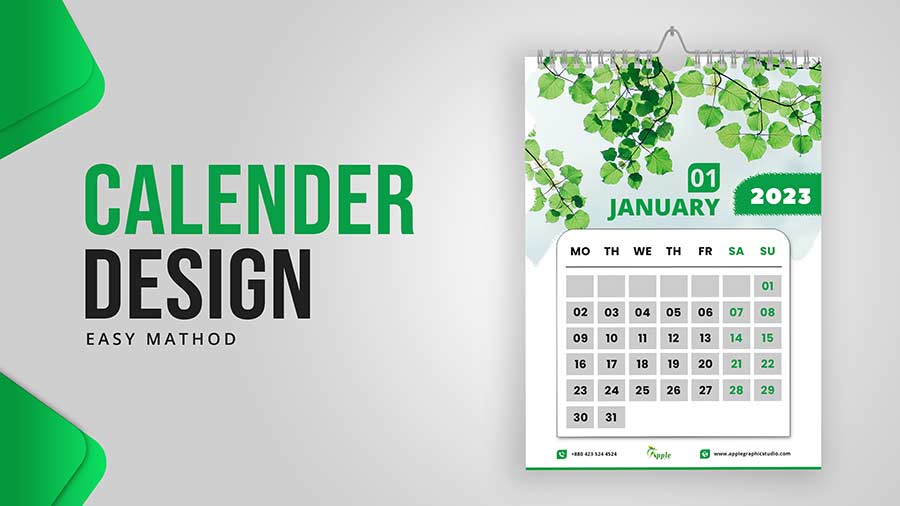
How to Design Calendar 2024 | Photoshop Tutorial
Calendar Design Photoshop Tutorial
Calendar Design Photoshop Tutorial. In this blog post, we will go through the process of designing a 2023 desk calendar using Photoshop. A desk calendar is a great way to keep track of dates, appointments, and tasks, and it can also be a fantastic gift for friends and family. We will cover all the steps involved in creating a calendar that is functional, aesthetically pleasing, and easy to print.
Step 1: Choose the Calendar Template
The first step in creating a desk calendar is to choose a template. You can find a variety of templates online, or you can create your own. For this tutorial, we will use a pre-made template from Creative Market.
Step 2: Customize the Template
Once you have your template, open it in Photoshop and begin customizing it. You can change the colors, add your own images and graphics, and adjust the font and text styles. Remember to keep the design clean and easy to read, as it will be used for practical purposes.
Step 3: Add Images: Calendar Design Photoshop Tutorial
One of the best ways to add visual interest to a calendar is to include images. You can use your own photos or find free stock images online. Try to choose images that are related to the month or season they represent. For example, use pictures of snowflakes or snowmen for January and images of flowers for May.
Step 4: Add Holidays and Events
Include important holidays and events on the calendar to make it more useful. You can use icons or graphics to represent each event or simply add text. Be sure to include major holidays such as Christmas, Easter, and Thanksgiving, as well as important cultural or religious holidays that are relevant to your audience.
Step 5: Finalize the Design
Calendar Design Photoshop Tutorial: Once you have added all the necessary elements to your calendar, it’s time to finalize the design. Make sure that everything is aligned properly and that there are no typos or errors. It’s a good idea to have someone else proofread the calendar to catch any mistakes you may have missed.
Step 6: Print and Assemble
Once you are satisfied with your design, it’s time to print and assemble the calendar. You can print it at home on a high-quality printer or take it to a local print shop. If you are printing it at home, make sure to use high-quality paper that is appropriate for printing calendars. You can also have the pages professionally bound or use a binder or clipboard to hold them together.
In conclusion, creating a desk calendar in Photoshop is a fun and rewarding project that can be enjoyed by both the designer and the end user. By following these steps, you can create a calendar that is functional, aesthetically pleasing, and easy to print. Whether you are making the calendar for personal use or as a gift for someone else, the final product will be a beautiful and useful addition to any desk or workspace.
Calander Mockup Download Link
- Desk Calander Mockup
- 142 MB
- Download Now

